Other
Arduino - LED Projects
Arduino - Buzzer Projects
Arduino - Midi Projects
Arduino - Microview
Arduino - Other Projects
Arduino - Visual Basic.NET
Arduino - Tim's Projects
Arduino - Links
![]()


Visual Basic Etch-A-Sketch
Introduction
This page contains the instructions for building a simple Visual Basic Etch-A-Sketch program that can be used with a suitable Arduino sketch.
The idea was to take advantage of the features of some of the Arduino family (eg Leonardo, Micro) that allow keyboard and mouse to be emulated. The program draws when the arrow keys are pressed.
Making The Program
We'll start by making the program in Visual Basic. These instructions are for Visual Basic 2010 but should work in any desktop version of Visual Basic from 2005 onwards.
Set Up The Form
You need to start a new Windows Forms project in Visual Basic.
Change the Text property of the form to the name you want to give your program. Find the KeyPreview property and set it to True. That means that we want key presses to be processed by the form and not by any of its controls.
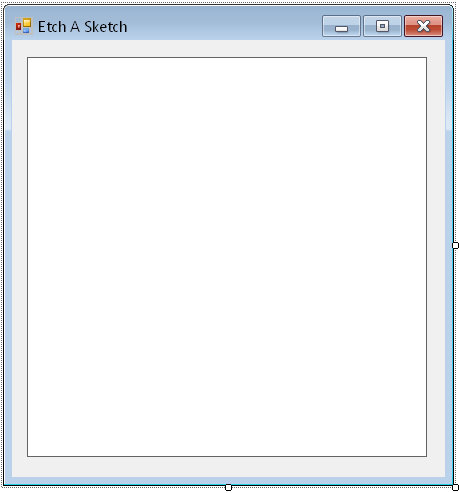
Next, add a PictureBox and name it picSketch. Make it 400x400 pixels by changing its Size property.
You should then have something that looks like this,
Write The Code
Click on View Code on the main menu in Visual Studio. We need to create 2 global variables for our program,
Dim currentPoint As Point = New Point(200, 200)

Dim bmpSketch As Bitmap = New Bitmap(400, 400)
The first variable stores the location of the 'cursor'. We start with the cursor in the middle of the drawing canvas. The second variable is a bitmap that will be used to store the sketch we are making.
Now we need to make a procedure to draw a dot at our current drawing point and update the sketch accordingly. The following code achieves that,
Sub UpdateDisplay()

   bmpSketch.SetPixel(currentPoint.X, currentPoint.Y, Color.Black)

   picSketch.Image = bmpSketch

End Sub
The next step is to make the display update when we load the program. We get the code for the form's loading by double clicking on any empty part of the form. We add a call to the procedure we just added and end up with something like,
Private Sub Form1_Load(sender As System.Object, e As System.EventArgs) Handles MyBase.Load

   UpdateDisplay()

End Sub
You can test that the program compiles and loads successfully, drawing a 1 pixel dot in the middle of the PictureBox.
Finally, we add the code to allow keyboard interaction. In the code window, there are 2 dropdown boxes at the top of the screen. Select Form1 events from the one on the left and look for KeyDown in the one on the right. Add the following code,
Private Sub Form1_KeyDown(sender As Object, e As System.Windows.Forms.KeyEventArgs) Handles Me.KeyDown

   If e.KeyValue = Keys.Left Then

      If currentPoint.X > 0 Then currentPoint = New Point(currentPoint.X - 1, currentPoint.Y)

      UpdateDisplay()

   ElseIf e.KeyValue = Keys.Right Then

      If currentPoint.X < 399 Then currentPoint = New Point(currentPoint.X + 1, currentPoint.Y)

      UpdateDisplay()

   ElseIf e.KeyValue = Keys.Up Then

      If currentPoint.Y > 0 Then currentPoint = New Point(currentPoint.X, currentPoint.Y - 1)

      UpdateDisplay()

   ElseIf e.KeyValue = Keys.Down Then

      If currentPoint.Y < 399 Then currentPoint = New Point(currentPoint.X, currentPoint.Y + 1)

      UpdateDisplay()

   End If

End Sub
This will get you started. Essentially, it changes the position of the current point by 1 pixel, depending on the key being pressed. It then updates the display. The reason for not putting the call to UpdateDisplay only once at the end of the sub is so that it only happens if there is change to the cursor position.
Challenges
Now you need to make a suitable Arduino circuit and sketch to interact with the program. You will be using the keyboard library. I found it best to send commands to press and release the key one after the other. There are a number of options for controlling the movement,
Rotary Encoders
This is my preferred component for this idea. With 2 encoders, you use one to send left and right keypresses and one to send up and down key presses. If you only have one encoder, use a rocker switch or something similar to change it from up-down to left-right mode.
Potentiometers
You can make this work with a couple of trimpots. It's a bit harder to control the amount of change but not impossible to get something usable.
Analogue Thumb Joystick
Although an analogue thumb joystick is basically a couple of potentiometers, you would find it easier to use. Your Arduino sketch would need to make a dead zone around the centre position of the stick. When the stick is pushed beyond a given threshold, the relevant key press can be sent to the PC. A Wii Nunchuck would also fit the bill here.
Digital Joystick
The larger arcade-style joysticks are usually a set of switches. That would be perfect for this scenario, since we want to have individual key presses sent to the PC.
Push Buttons
Not the coolest, but the easiest to set up. 4 buttons, one for each direction...easy.
Accelerometer
You could use a Wii Nunchuck's accelerometer for this. If you have access to a USB host controller, you could also use a PS3 controller's accelerometer to do this. With an accelerometer, you probably want to have a button that needs to be pressed down for the movement to be converted into key presses. As with any component that gives you a range of readings, you need to set a threshold for the movement you replicate on the screen.
Makey Makey
If you want to avoid programming an Arduino and have a Makey Makey, whip it out and build some switches out of anything conductive.
Capacitive Sensing
You could use one of the capsense breakout boards (both Sparkfun and Adafruit have products for this) to achieve this. Alternatively, look on the Arduino site for information about the capsense library and have a go at setting this up without having to get any new components.
Knock Sensors
A handful of piezo elements, some 1M Ohm resistors, and you can use vibration sensing for the control.
Something Else
These are just a few ideas of the components you might use to create an interface for this program. There are lots of other options you might explore too. Any sensor or input component could be considered - the more bizarre, the better. Imagine using a couple of wind sensors (not the cheapest option) and controlling the program by blowing. Maybe you want to wave your hands in front of a light, infrared or ultrasound sensor. You could move a robot around and have the drawing correspond to the path you drive the robot. The possibilities are limited only by your imagination.
Adapting The Program
The program could do with a few tweaks. It would be useful to have a way of clearing the screen without having to restart the program. You can clear the bitmap with bmpSketch= new Bitmap(400,400) and a call to UpdateDisplay(). It might be nice to have to shake something to clear the screen. A button would be enough though. You would get your sketch to send a keypress and adapt the program to clear the screen when that particular key is pressed. You could also add a feature to center the cursor.